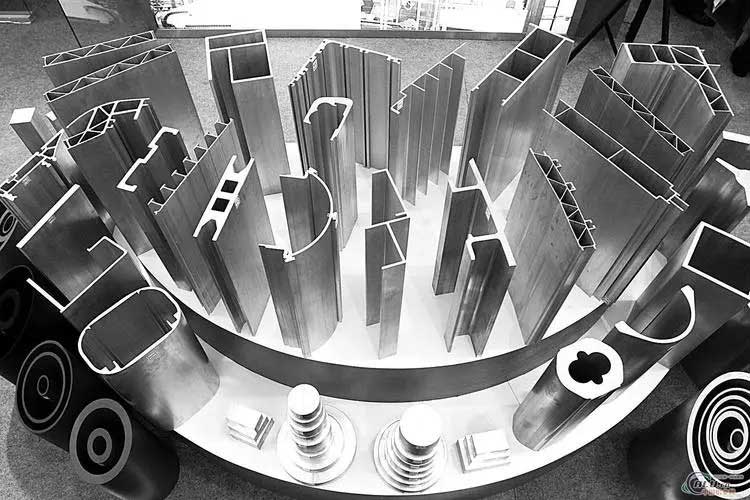
In the process of aluminum profile production, it is often necessary to formulate a reasonable inspection frequency, which requires the selection of a reasonable judgment method according to the different degrees of substrate defects and surface treatment methods combined with the quality requirements of orders and customers.
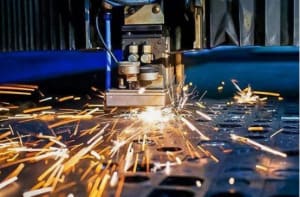
The difference between aluminum profiles and aluminum alloys
Aluminum alloy refers to one of the materials of aluminum, and aluminum alloy also refers to an alloy formed by mixing aluminum and other metals. Aluminum profiles refer to developed products, aluminum alloy materials, or products made of pure aluminum can be called aluminum profiles.
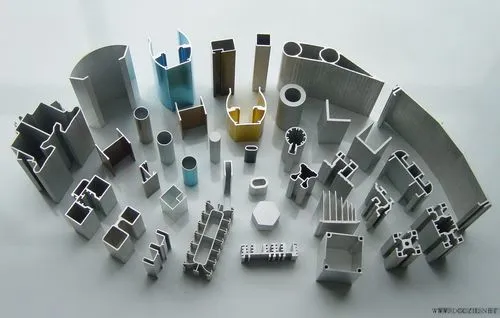
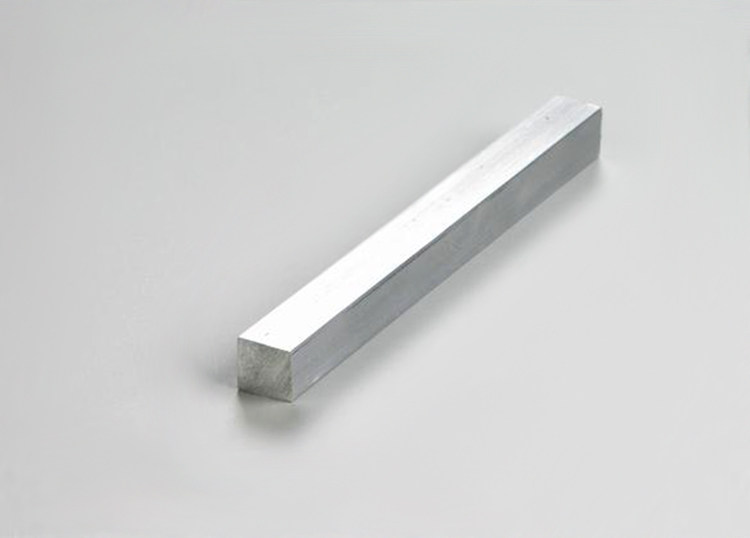
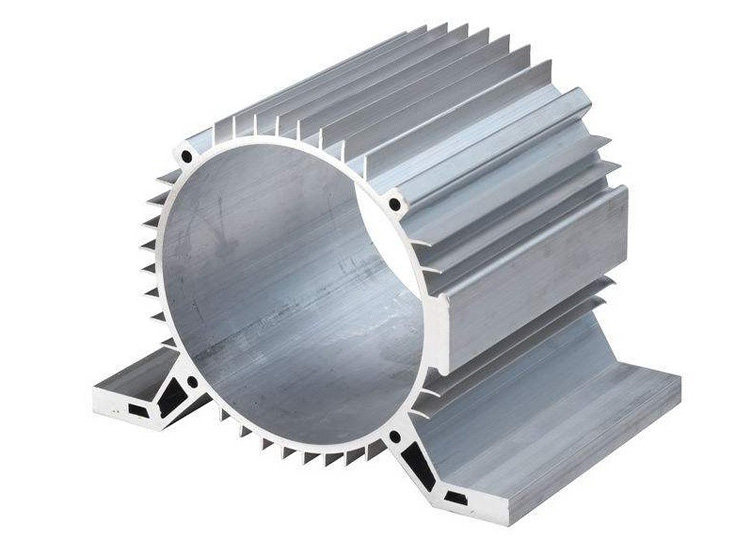
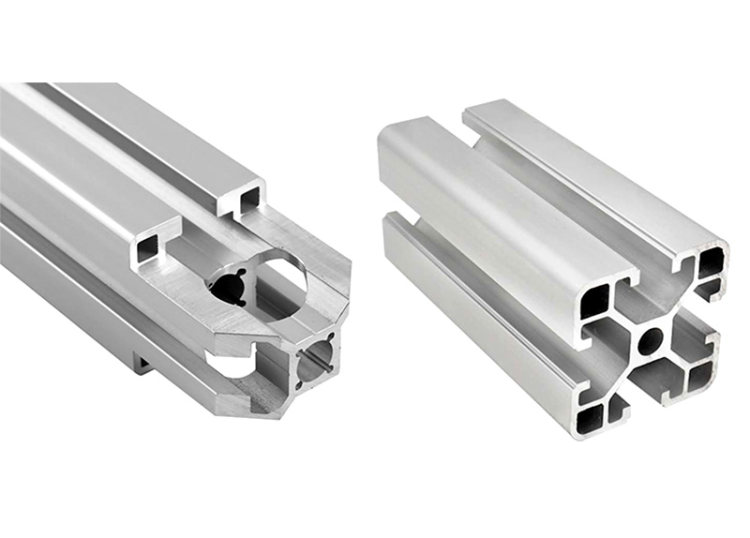
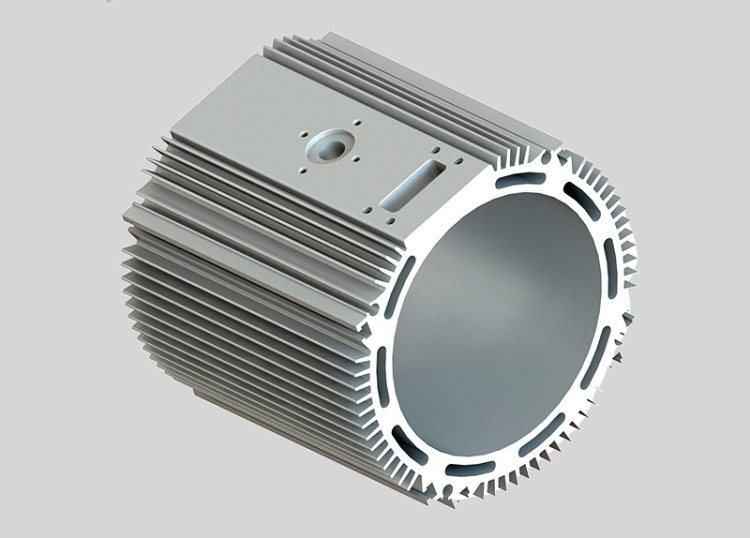
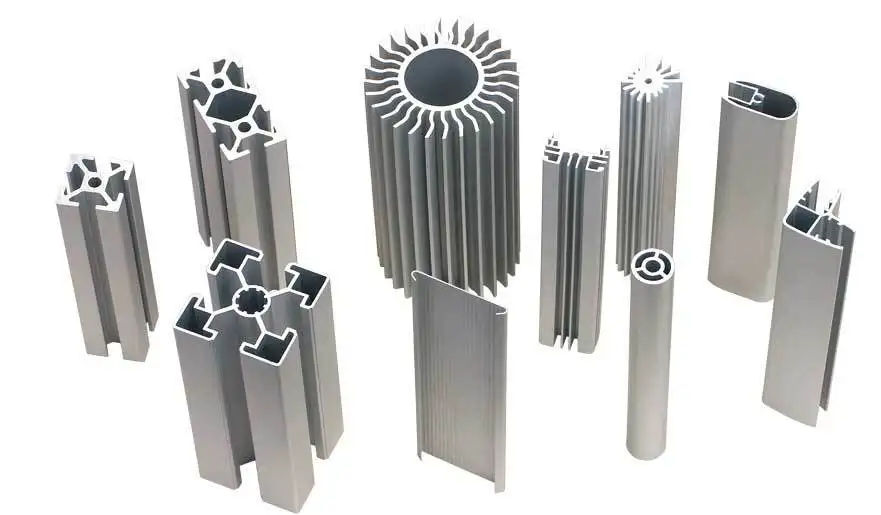
Aluminum profiles are profiles with different cross-sectional shapes obtained by hot-melting and extruding aluminum rods. Aluminum profiles are generally surface-treated to increase their corrosion resistance, enhance their decorative effect, and prolong their service life.
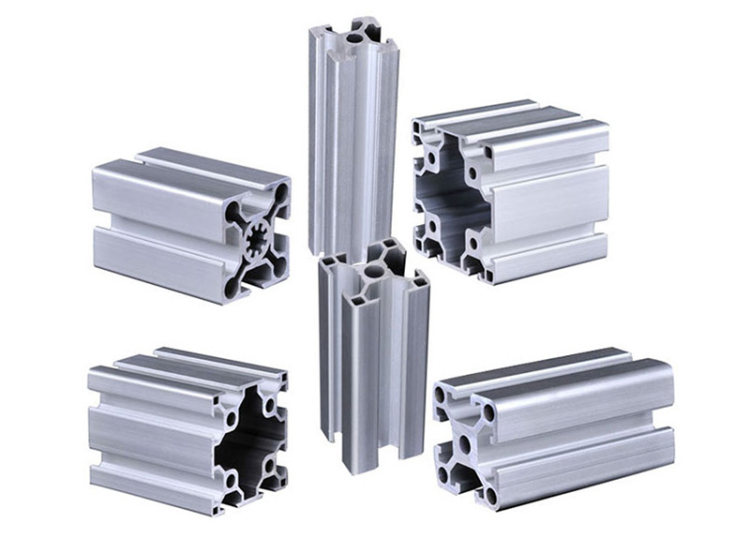
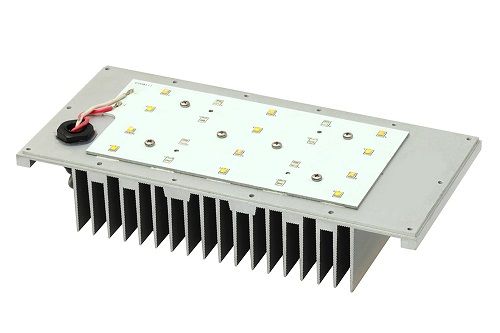
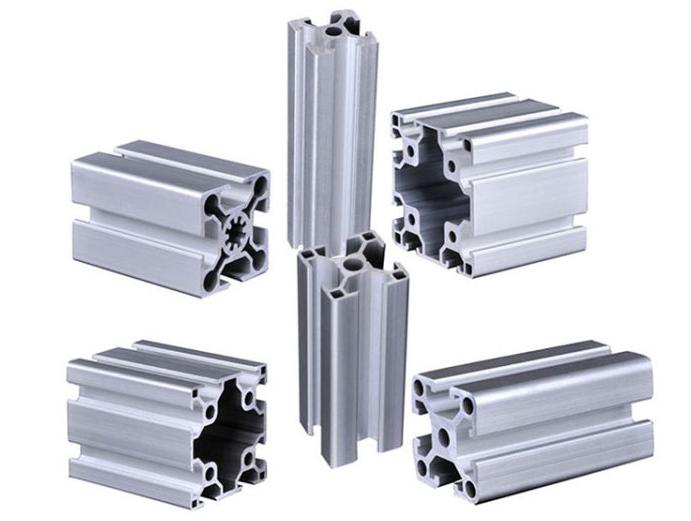
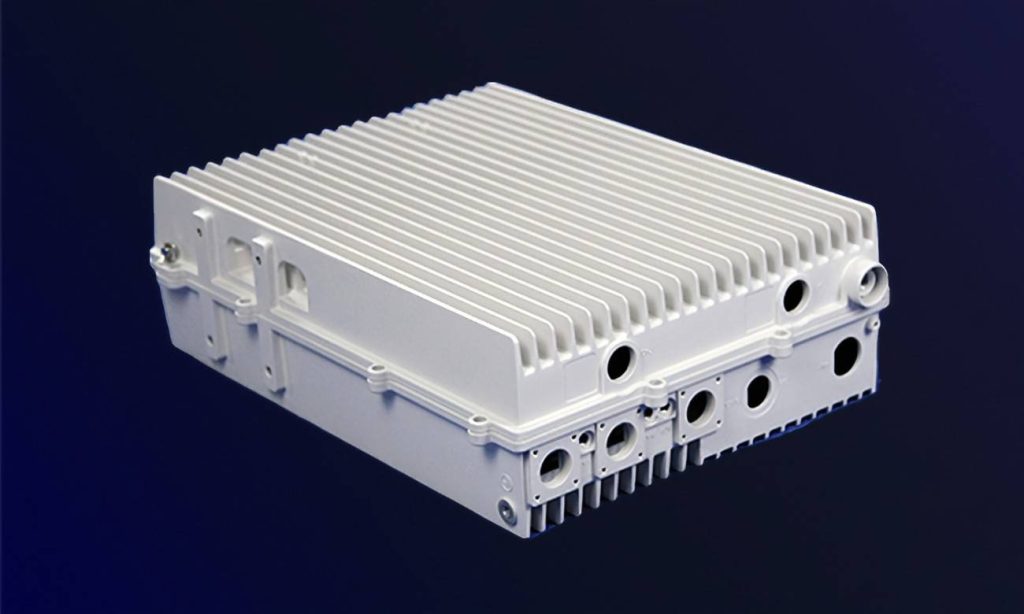
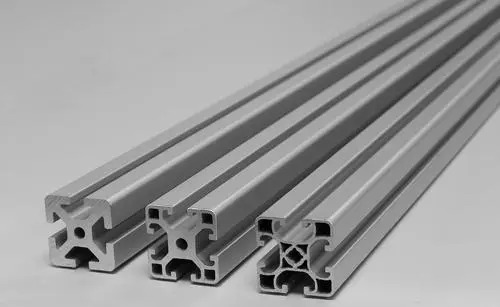
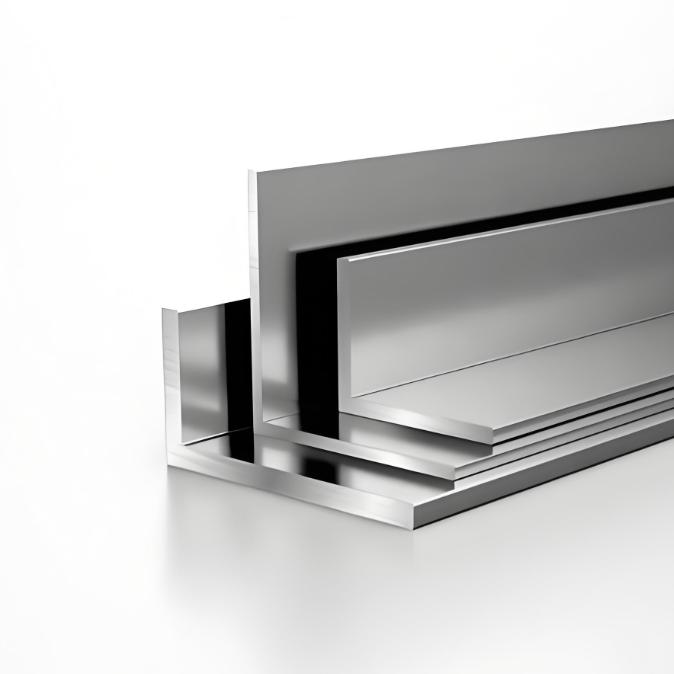
Ordinary aluminum profiles include industrial aluminum profiles, aluminum panels, doors and windows, aluminum curtain walls, aluminum castings, etc. The surface treatment classification of aluminum profiles includes anodizing, electrophoretic painting, powder coating, fluorocarbon paint spraying, wood grain transfer, etc.
The advantages of aluminum profiles are excellent corrosion resistance, electrical and thermal conductivity, and a non-magnetic metal, highly machinable, formable, and recyclable.
The processing method of the aluminum profile
The standard aluminum profile processing technology is the hot extrusion process.
Due to the particularity of the production process of hot extruded aluminum profiles, it will directly or indirectly cause defects on the surface of the aluminum profiles during the hot extrusion process. Defects include rough texture, color separation, dark bands, bright bands, scribes, bone (concave, convex), and a poor finish.
The formation of rough surface defects of aluminum profiles is in the extrusion production of aluminum profiles. Common faults are relatively intuitive, such as bending, twisting, deformation, slag inclusion, etc.
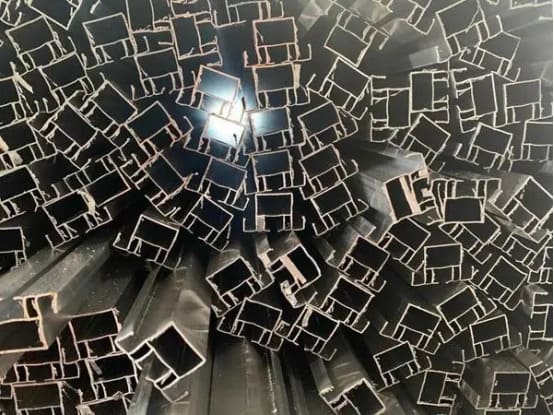
5 ways to quickly judge the surface quality defects of aluminum profile billets
1. Hand touch
Touch the substrate’s surface with your hands or scribe lines that you can pick with your fingernails, hollow bones, and convex bones that can be felt, and judge whether there is a prominent hand feels. It is suitable for the determination of various surface treatments.
2. Pencil scratches
During the extrusion process of aluminum profiles, use pencils to scratch the surface of aluminum profiles and judge whether there are harsh lines by the continuity of hand feel and whether pencil scratches, scribe lines, and grooves are suitable for the surface judgment of oxide materials.
3. Spray paint test
When sampling for the first inspection, use automatic spray paint to spray the surface of the substrate to simulate the spray effect. After the surface is dry for 1-2 minutes, observe and judge whether there are any defects, such as scribe lines, hollow bones, and convex bones. It is suitable for surface judgment of spray paint.
4. Alkaline washing test
When sampling for the first inspection, take a 300mm sample section from the third rod and soak it in the mold tank for 30-40 seconds. Properly prolong the soaking time, generally no more than 60 seconds.) After alkali cleaning, the surface of the substrate can be seen with or without color separation, scribing, mold welding lines, and other defects. Suitable for oxides with high surface requirements.
5. Surface grinding
During the first inspection and sampling, take a 300mm sample section and use an industrial white cleaning cloth to grind the surface of the substrate horizontally. After grinding, it is easier to observe relatively subtle defects on the surface of the substrate. It is used to judge surface defects such as thin lines, hollow bones (not easy to be picked by nails), convex bones, and the above four methods that are not easy to distinguish. It is suitable for surface judgment of spray paint, oxide, and fluorocarbon material.
It is the first step to quickly judge whether the surface quality is qualified in the first inspection. Even if the sample is limited, there will be unexpected situations during the extrusion process.
Therefore, in the actual production process, it is necessary to formulate a reasonable inspection frequency according to the different degrees of substrate defects and the surface treatment method, combined with the quality requirements of the order and the customer, select the corresponding way to judge and make timely and accurate judgments.

