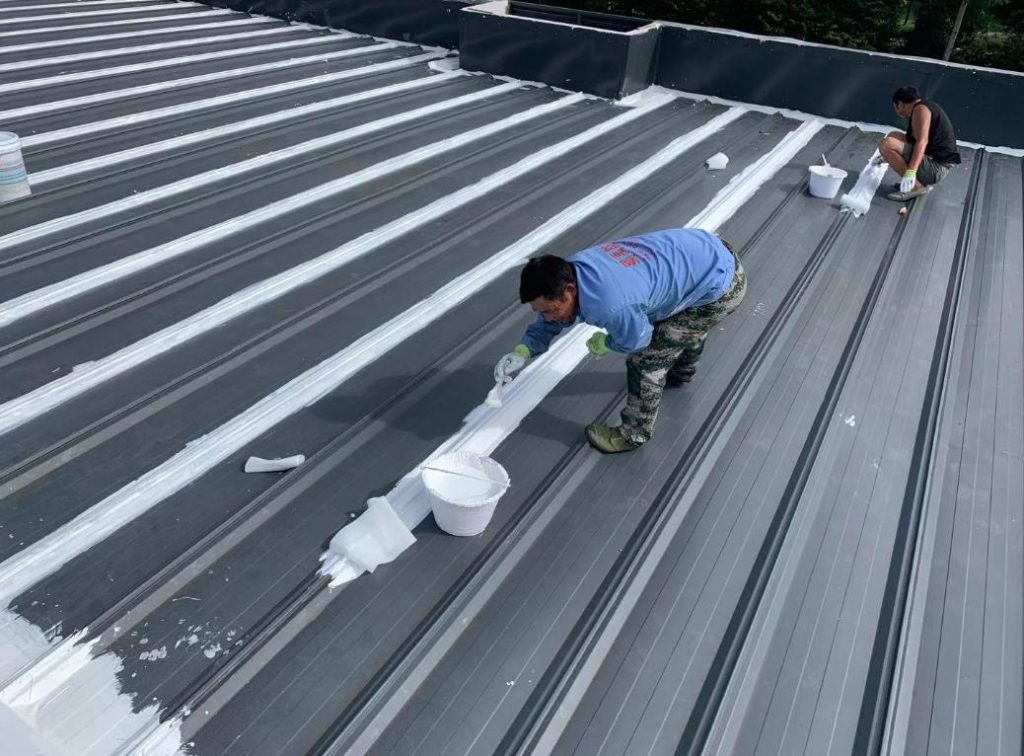
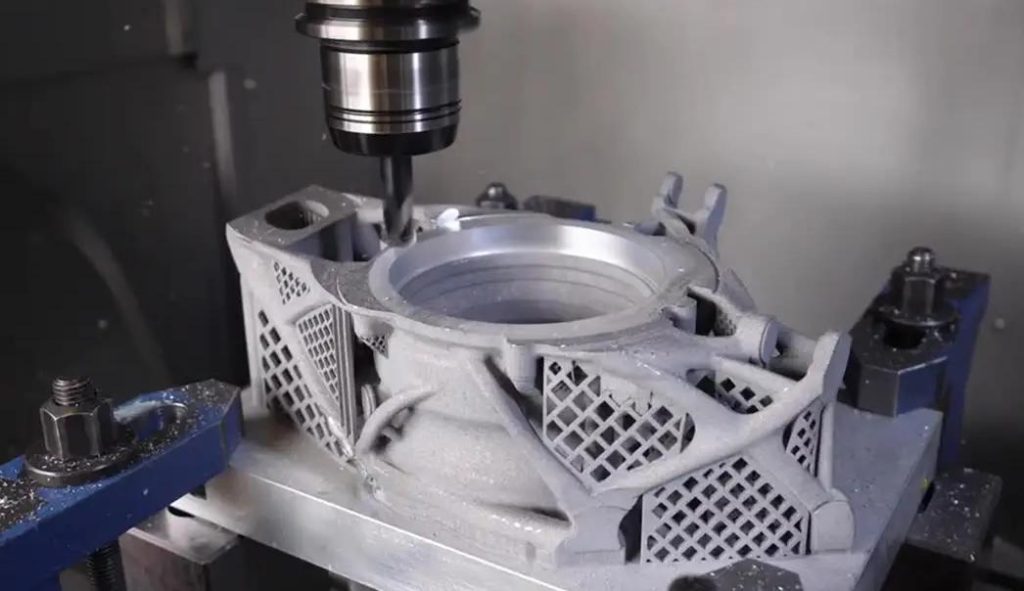
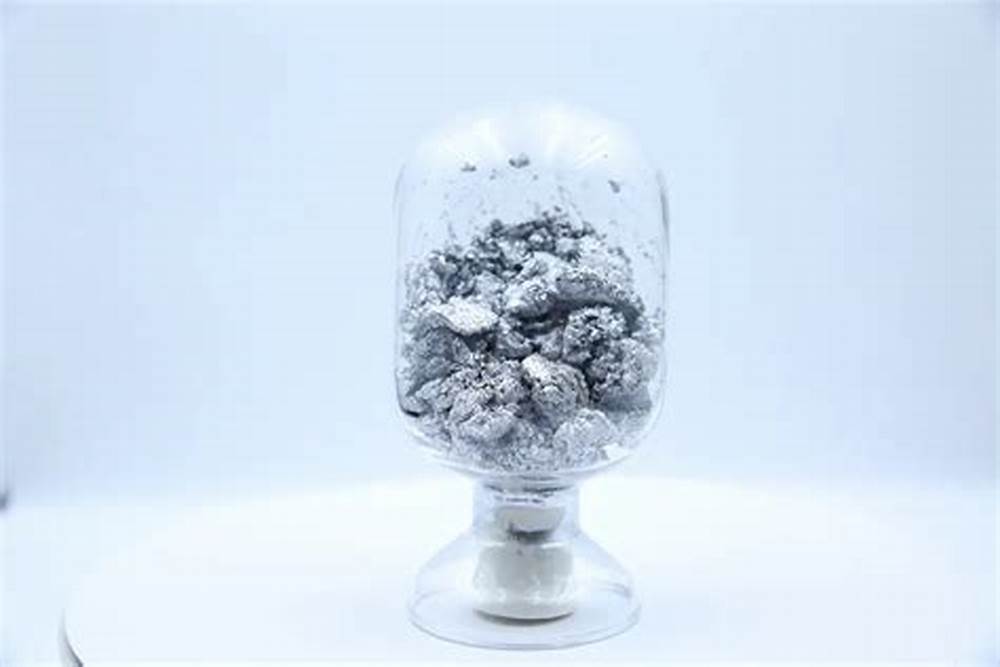
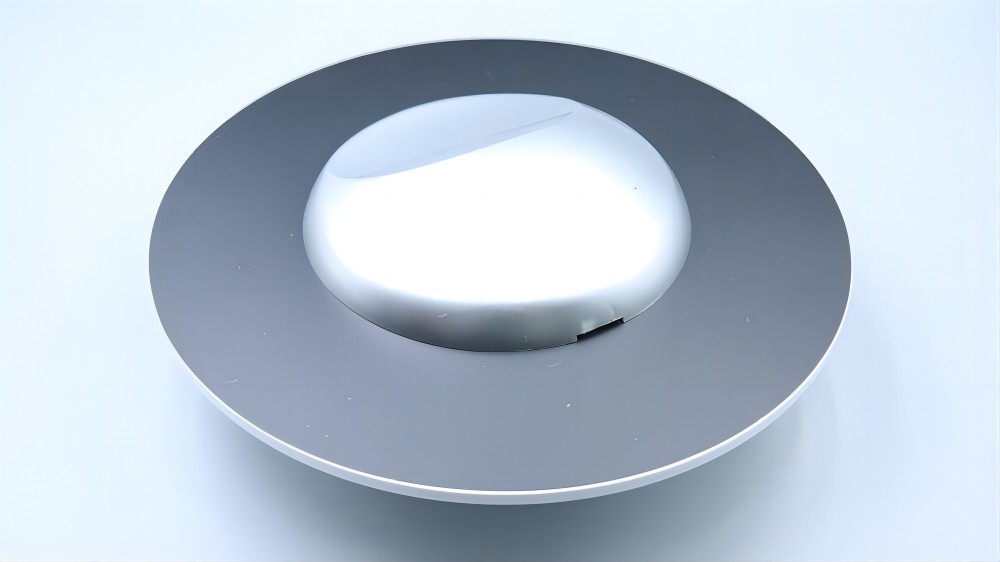
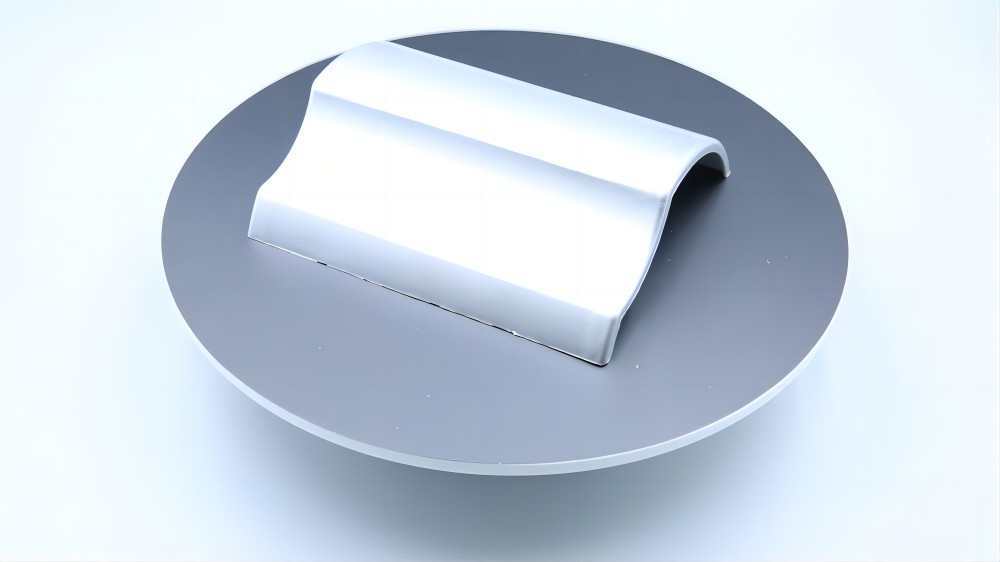
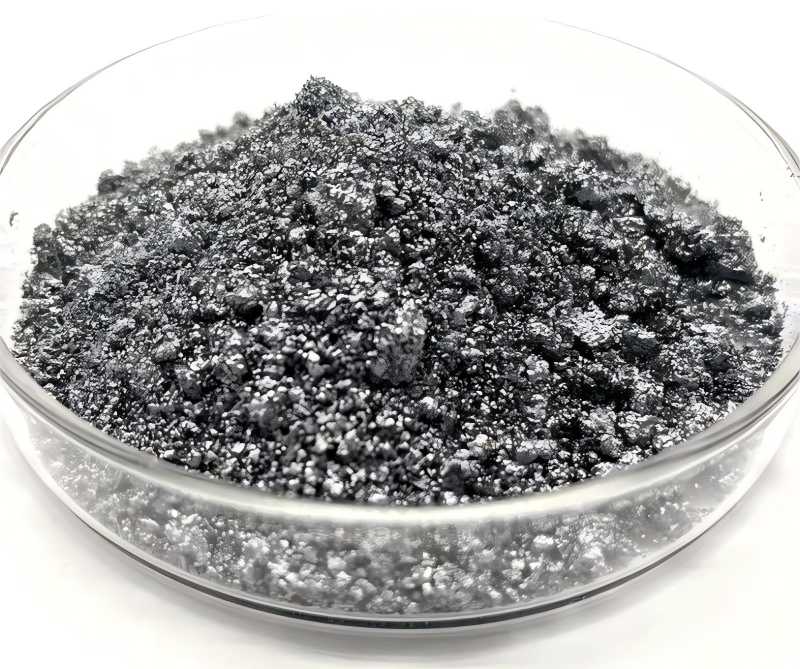
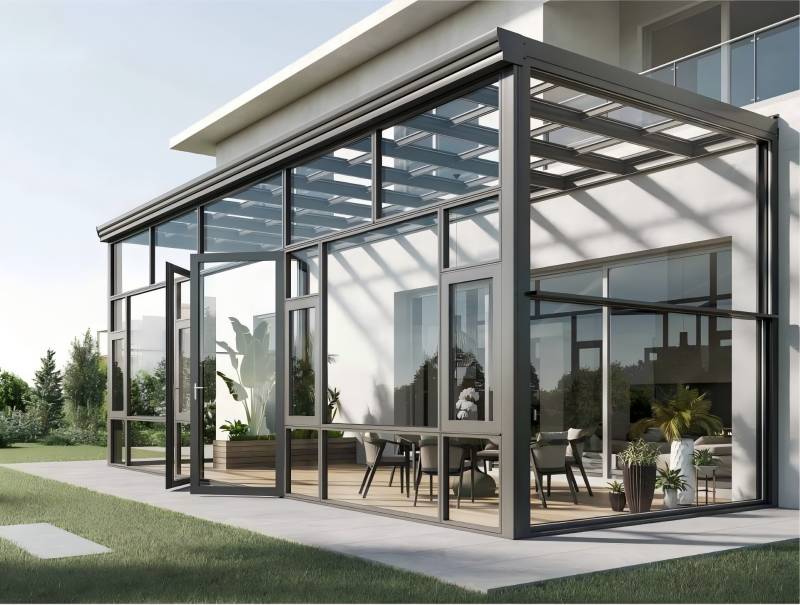
Painting on aluminum surfaces is a common surface treatment process, which can make aluminum products more beautiful, improve their corrosion resistance, and extend their service life. Whether it is aluminum doors and windows in architectural decoration or aluminum parts in the industrial field, painting plays an important role. Through painting, aluminum products can be better isolated from the external environment to prevent oxidation, rust, and other conditions.
Understanding Aluminum as a Surface
Aluminum is a lightweight, corrosion-resistant metal with good electrical and thermal conductivity. However, an aluminum oxide film easily forms on the surface of aluminum, which, while protective, can also affect the adhesion of the paint layer. Aluminum is chemically relatively active and may undergo varying degrees of chemical reactions in different environments. If the paint is applied directly without proper treatment, the paint layer may peel off or fail to achieve the desired protective and decorative effects. Therefore, to successfully paint the aluminum surface, proper preparation is necessary.
Preparation before Painting
Materials and Tools You‘ll Need
1. Paint types
- Acrylic paint: This is a common type of paint that has good drying speed and weather resistance. It forms a hard paint film after drying and can provide good protection. Acrylic paint has a wide range of color options and is suitable for aluminum products that have certain requirements for appearance, such as aluminum crafts for interior decoration.
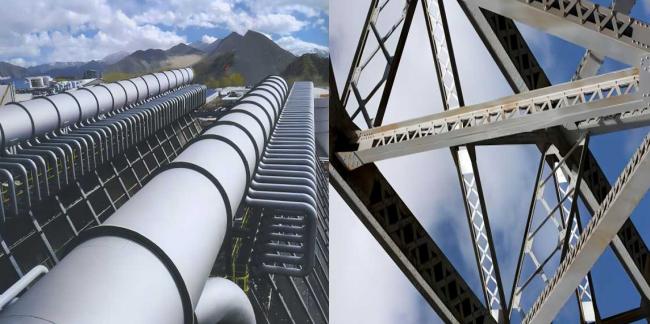
- Polyurethane paint: Polyurethane paint has excellent wear resistance and corrosion resistance. The paint film it forms is tough and elastic, and can well resist physical and chemical erosion from the outside. For aluminum products used outdoors, such as aluminum building structures, polyurethane paint is a good choice.
- Epoxy paint: Epoxy paint has strong adhesion and good adhesion to aluminum surfaces. It also has good chemical stability and can resist corrosion from a variety of chemicals. However, epoxy paint dries relatively slowly and is suitable for aluminum products that require extremely high adhesion of the paint layer, such as aluminum parts in some industrial equipment.
2. Primer: The main function of the primer is to enhance the bonding between the paint layer and the aluminum surface. For example, zinc chromate primers, which contain zinc and chromate, form a protective film on the aluminum surface and provide a good adhesion base for the topcoat. Another commonly used primer is epoxy primer, which reacts chemically with the aluminum surface to make the paint layer adhere more firmly to the aluminum.
3. Sandpaper: The grit of sandpaper is critical. For rough aluminum surfaces or thick oxide layers, you can use 80-120 grit coarse sandpaper for preliminary sanding to remove large areas of unevenness and oxide. Then use 240-400 grit fine sandpaper for fine sanding to make the surface smoother and prepare for painting.
4. Cleaners
- Acetone: Acetone is a strong organic solvent that can quickly and effectively dissolve grease, dirt and some organic pollutants on the aluminum surface. However, due to its high volatility and certain toxicity, it needs to be used in a well-ventilated environment.
- Special aluminum surface cleaners: These cleaners are specially developed based on the chemical properties of aluminum. They can gently remove stains on the aluminum surface without corrosive to the aluminum itself. When using, follow the instructions for use of the cleaner. Usually, dilute the cleaner and wipe the aluminum surface with a rag.
5. Tape: Masking tape is more commonly used. It has good viscosity and can be firmly attached to the aluminum surface to cover the parts that do not need to be painted. After the painting is completed, the masking tape can be easily torn off without leaving residual glue on the aluminum surface.
6. Spray gun: Spray guns are commonly used tools for large-area painting. There are gravity spray guns, siphon spray guns, etc. The paint cup of the gravity spray gun is located at the top of the spray gun, and gravity is used to make the paint flow into the spray gun nozzle, which is suitable for small-area, high-precision painting work. The paint cup of the siphon spray gun is under the spray gun, and the paint is sucked into the spray gun nozzle through the siphon principle, which is suitable for large-area painting operations. When using a spray gun, adjust the air pressure and spray width of the spray gun according to the different types of spray guns and the viscosity of the paint. Generally speaking, the air pressure is controlled between 2 and 4 bar, and the spray width can be adjusted between 10 and 20 cm as needed.
7. Brush: There are various types of brushes, including wool brushes and nylon brushes. The wool brush has soft bristles, which are suitable for applying thinner paints and can make the paint layer more evenly applied. Nylon brushes are tougher and are suitable for thicker paints or local repairs that require a higher thickness of the paint layer. When using a brush to paint, the width of the brush should also be selected according to the area and part of the paint. For example, a 2-5 cm wide brush is suitable for painting small corners, while a 10-15 cm wide brush can be used for painting larger flat surfaces.
8. Sander (if a large area of aluminum surface needs to be sanded)
There are two types of sanders: electric sanders and pneumatic sanders. Electric sanders are powerful and suitable for quickly removing large areas of oxide layers or uneven surfaces. Pneumatic sanders are relatively light and more flexible to operate. When using a grinder, choose a suitable grinding disc according to the condition of the aluminum surface, such as sandpaper disc, fiber disc, etc. At the same time, control the speed of the grinder, generally between 1000-3000 rpm, to avoid excessive damage to the aluminum surface due to excessive speed.
Preparing the Aluminum Surface
The pretreatment steps before painting aluminum products mainly include the following aspects:
1. Surface preparation
- Degreasing: Use solvent method to remove grease, dirt, etc. on the surface. Solvents such as low carbon alkanes, acetone, and alcohol can be used.
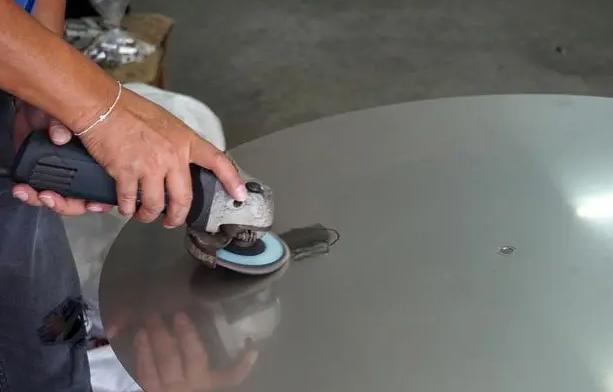
- Grinding treatment: There is generally an oxide film on the surface of aluminum alloys, which needs to be ground with sandpaper or a grinder to remove the oxide scale, minor scratches and stains on the surface.
2. Cleaning
- Powerful spraying: Use compressed air and water or solvent mixed together to spray on the surface, and treat the surface by natural drying or air drying.
- Hot water cleaning: Clean with hot water at 50℃ – 90℃. Using detergent can also improve the cleaning effect.
3. Acid treatment
- Hydrofluoric acid treatment: Soak the aluminum alloy in hydrofluoric acid solution to remove the surface oxide layer and rust, forming capillaries for subsequent anodizing or painting. The main weakness of hydrofluoric acid treatment is that it is harmful to the human body, and strict protective measures are required during use.
- Acid cleaning agent treatment: This is a commonly used acid treatment method for aluminum alloy surfaces. Acidic cleaning agents can remove surface oxide layers and grease, etc., and form capillaries. Generally speaking, a mixed cleaning solution containing sulfuric acid and phosphoric acid is used to treat the surface of aluminum alloys to make the surface capillary to a certain extent, which can increase the adhesion of subsequent coatings and improve the corrosion resistance of coatings.
4. Anodizing (optional): Anodizing can be performed as needed to form an oxide film on the surface of aluminum alloys to improve the hardness and corrosion resistance of the surface.
5. Removing oxide layer: Oxide film is easily formed on the surface of aluminum alloys, which will affect the adhesion and surface quality after painting. Therefore, after cleaning, it is necessary to remove the oxide film. The oxide film can be removed by chemical deoxidation, mechanical deoxidation or electrolytic deoxidation. Chemical deoxidation usually uses an acidic solution to remove the oxide film through chemical reaction. Mechanical deoxidation uses grinding, polishing and other tools.
6. Passivation treatment: Passivation treatment is to enhance the corrosion resistance of the surface of aluminum alloy profiles. A commonly used passivation method is to use an acidic passivating agent, such as chromic acid or nitric acid. This can form a protective passivation film, improve the corrosion resistance of aluminum alloy profiles, and provide better conditions for the adhesion of the coating.
7. Pre-treatment agent: The pre-treatment agent can further enhance the adhesion between the coating and the substrate. The pre-treatment agent is usually applied to the surface of the aluminum alloy profile by spraying or immersion. This will form a chemical bond, providing better coating adhesion and durability.
8. Drying: The last step is to dry the treated aluminum alloy profile. The purpose of drying is to remove moisture from the surface so that the spray material can better adhere to the aluminum alloy surface. Common drying methods include natural drying and hot air drying.
Choose the Right Paint
Different environments and uses require different types of paint. For example, aluminum products used outdoors need to choose paints with good weather resistance, such as polyurethane paint; while those used indoors can choose acrylic paint. At the same time, the choice of primer is also very important. The primer can enhance the adhesion of the paint layer to the aluminum surface and provide a better foundation for the topcoat.
The preparation work before painting includes preparing materials and tools, carefully treating the aluminum surface, and choosing the right paint. These steps are the basis for ensuring the painting’s effect.
When Painting Aluminum Surfaces
Painting Techniques
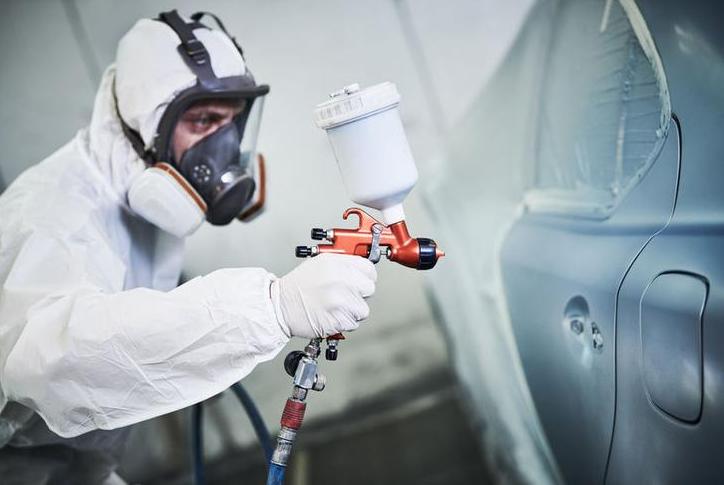
Spray gun painting
1. Preparation and commissioning of spray guns
Before using a spray gun, make sure it is clean. Check whether the various parts of the spray gun are working properly, such as whether the spray gun nozzle is blocked. For different types of spray guns, such as gravity spray guns and siphon spray guns, they should be commissioned accordingly according to the type of paint and the desired painting effect. For gravity spray guns, since the paint cup is at the top, the paint flows into the spray gun nozzle by gravity. Pay attention to the firmness of the paint cup to avoid shaking or falling off during the painting process. For siphon spray guns, check whether the siphon device is working properly to ensure that the paint can be stably sucked into the spray gun nozzle.
Adjust the air pressure of the spray gun according to the viscosity of the paint. Generally speaking, if the paint is thin, the air pressure can be set at 2-3 bar; if the paint is thick, the air pressure may need to be increased to 3-4 bar. At the same time, adjust the spray width, the size of the spray width determines the coverage area of the paint. For large areas of aluminum, the spray width can be set at 15-20 cm; for small areas or areas that require precise painting, the spray width can be reduced to 10-15 cm.
2. Painting operation
When starting to paint, keep the spray gun perpendicular to the aluminum surface and the distance controlled between 15-20 cm. This distance is the key to ensuring a uniform paint layer. If the distance is too close, it is easy to cause the paint layer to be too thick and produce sagging; if the distance is too far, the paint mist will disperse, resulting in a thin and uneven paint layer.
When moving the spray gun, keep a constant speed, which is generally controlled between 30-60 cm/second. You can use a horizontal or vertical movement method, such as starting from one end of the aluminum surface, moving the spray gun horizontally at a constant speed to the other end, and then moving it vertically in the next line, so that the entire aluminum surface can be painted evenly.
When spraying multiple layers of paint, the drying time between each layer of paint must be strictly controlled. This depends on the type of paint and environmental conditions. For example, in an environment with a temperature of 20-25°C and a humidity of 40%-60%, the drying time between each layer of acrylic paint is about 15-30 minutes; polyurethane paint may take 30-60 minutes. While waiting for drying, make sure that the painted surface is in a well-ventilated environment to prevent dust and other impurities from falling on the undried paint layer.
Painting with a brush
1. Brush selection and handling
Choose a suitable brush according to the type of paint and the requirements of the painting. As mentioned earlier, wool brushes are suitable for thin paints, and nylon brushes are suitable for thick paints. Before using the brush, soak the brush in the paint so that the bristles can fully absorb the paint, but do not soak it too deeply to prevent the paint from dripping onto the aluminum surface and causing uneven paint layers.
2. Painting operation
When painting with a brush, brush in one direction, for example, start from the upper left corner of the aluminum surface and brush towards the lower right corner. When painting, keep the angle between the brush and the aluminum surface between 45-60 degrees, so that the paint layer can adhere to the aluminum surface more evenly.
During the painting process, avoid repeatedly applying the same paint layer, as this will cause uneven thickness of the paint layer and even damage the already applied paint layer. If you need to apply a second layer of paint, wait until the first layer of paint is completely dry before applying it. The way to judge whether it is dry is to touch the surface of the paint layer gently with your fingers. If it does not feel sticky, it means that the paint layer is basically dry.
Influence and control of environmental factors
1. Influence and control of temperature
Temperature has an important influence on the effect of painting. In a low temperature environment, the drying speed of the paint will slow down, which may cause the paint layer to sag or appear orange peel. Generally speaking, the ideal temperature range for painting is 15 – 30°C. If the temperature is lower than 15°C, you can consider using heating equipment to increase the ambient temperature, such as a heater, but pay attention to maintaining air circulation to avoid local overheating. In a high temperature environment, the paint dries too quickly, which may cause problems such as cracks on the surface of the paint layer. If the temperature is higher than 30°C, you can add some moisturizing measures in the painting environment, such as using a humidifier to adjust the humidity and slow down the drying speed of the paint.
2. Influence and control of humidity
Humidity is also an important factor affecting painting. When the humidity is high (over 60%), the water in the paint is difficult to volatilize, which can easily lead to problems such as whitening and bubbling of the paint layer. In this case, dehumidification equipment can be used to reduce the ambient humidity. On the contrary, when the humidity is low (below 40%), the paint evaporates too quickly, which may cause the surface of the paint layer to be rough. At this time, a humidifier can be used to increase the ambient humidity and keep the humidity between 40% and 60% to obtain a better painting effect.
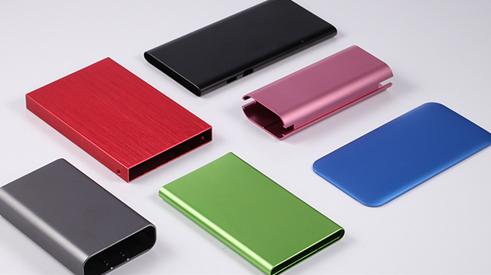
Sealing and Protecting the Painted Surface
1. Ensure that the paint layer is completely dry
Determination of drying time
Different types of paint have different drying times. In addition to judging the degree of dryness based on time as mentioned above, some auxiliary tools can also be used. For example, a hygrometer can be used to detect the humidity on the surface of the paint layer. If the humidity is close to the humidity of the surrounding environment, it means that the paint layer has dried. In addition, some special paint film drying testers can also be used to accurately determine whether the paint layer is completely dry.
Maintenance of drying environment
During the drying process of the paint layer, the painted surface should be kept in a well-ventilated environment with appropriate temperature and humidity. Good ventilation can accelerate the volatilization of solvents in the paint, making the paint layer dry faster and more evenly. Avoid moving aluminum products to other environments when the paint layer is not completely dry, so as to prevent dust, impurities, etc. from contaminating the paint layer or causing damage to the surface of the paint layer.
2. Selecting suitable protective paint (such as varnish) and applying
Choice of protective paint
If you need to further improve the wear resistance and corrosion resistance of the paint layer, you can choose to apply a layer of varnish. There are different types of varnish, such as nitro varnish, acrylic varnish, etc. Nitro varnish dries quickly and has good glossiness; acrylic varnish has good weather resistance and transparency. Choose the right varnish according to the specific use environment and requirements of the aluminum product.
Operation of applying protective paint
If you use a spray gun to apply varnish, the operation method is similar to the previous spray gun painting, but pay attention to adjusting the air pressure and spray width of the spray gun, because the viscosity of the varnish may be different from the previous paint. Generally speaking, the air pressure of the varnish can be set at 1.5-2.5 bar, and the spray width can be adjusted between 10-15 cm as needed. If you use a brush to apply varnish, choose a brush with good quality and soft bristles, and apply it more gently and evenly to avoid brush marks. After applying the varnish, you also have to wait for the varnish to dry completely. The drying time depends on the type of varnish and environmental conditions.
Maintenance Tips for Painted Aluminum
Regular maintenance is key to keeping your painted aluminum surface looking great.
- Cleaning: Clean with mild soap and water to remove dirt and grime. Avoid abrasive scrubbers or harsh chemicals that can damage the paint.
- Inspection: Periodically check for chips, scratches, or wear. Address damage promptly by sanding the affected area and applying touch-up paint.
- Reapply Sealant as Needed: Over time, the clear coat may wear down. Reapply a fresh layer of sealant to keep the surface protected.
- Avoid Excessive Heat and Moisture: Protect painted aluminum from extreme weather or heat sources to prolong its lifespan.
Final Thoughts
Painting aluminum surfaces can seem daunting, but with the right preparation, materials, and techniques, you can achieve professional results. From understanding the unique properties of aluminum to proper preparation, painting, and maintenance, each step plays a vital role in the outcome.
Whether you’re tackling a DIY project or enhancing aluminum for artistic purposes, following these guidelines ensures a durable, stunning finish that stands the test of time.

