The alluring gleam of aluminum draws in artists, engineers, and DIY enthusiasts alike. Its lightweight strength, corrosion resistance, and aesthetic appeal make it a material of choice for everything from intricate sculptures to high-performance vehicles. However, taming this versatile metal with the fiery dance of gas welding requires specific approaches and expert finesse. This guide delves into the secrets of achieving stunning aluminum welds, navigating common challenges, and prioritizing safety throughout the process.
Why Gas Welding for Aluminum?
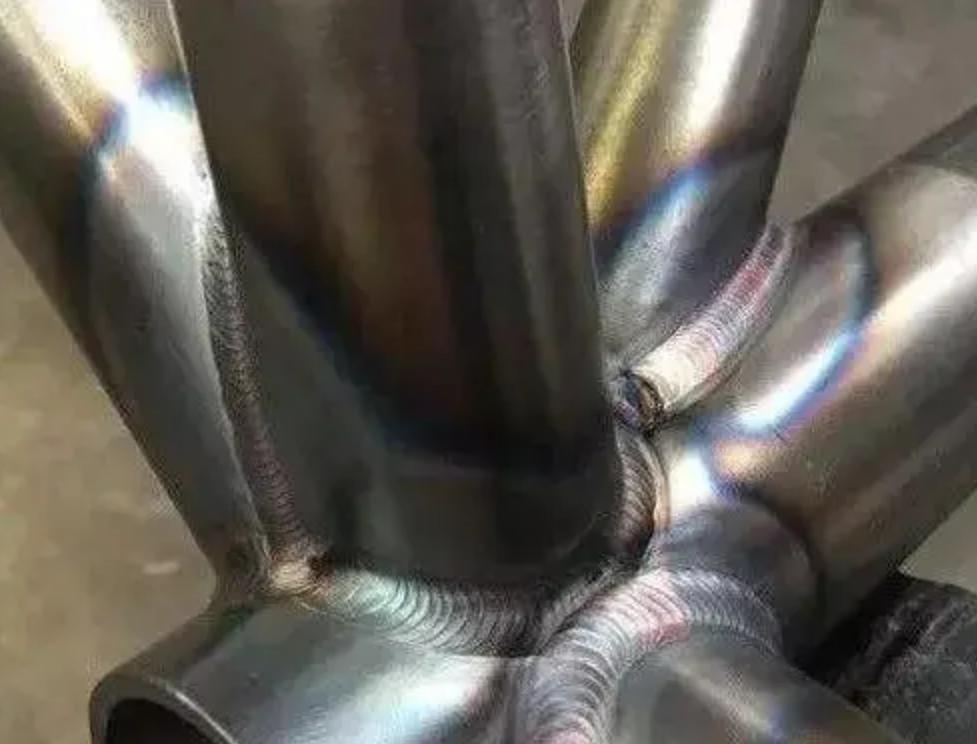
Aluminum presents unique challenges, forming a stubborn oxide layer that impedes fusion. Flawed welds on aluminum can be brittle and prone to failure, jeopardizing both project integrity and personal safety. Gas welding, with its focused heat and meticulous control, bypasses this hurdle. The oxy-fuel flame melts the base metal and filler rod, meticulously pushing back the oxide and creating a strong, continuous joint. Every meticulous movement of the torch, every carefully chosen setting contributes to a strong, aesthetically pleasing weld.
The Importance of Precision and Safety:
The dance of gas welding aluminum demands both precision and respect for the fiery tools. Improper technique can lead to porosity, brittle welds, and even fiery mishaps. Always prioritize safety: wear appropriate protective gear, ensure adequate ventilation, and maintain a clean and organized workspace. Remember, knowledge is power – invest time in understanding torch setup, gas flow rates, and proper cleaning methods for optimal results.
What are the Common Aluminum Parts Used in Gas Welding?
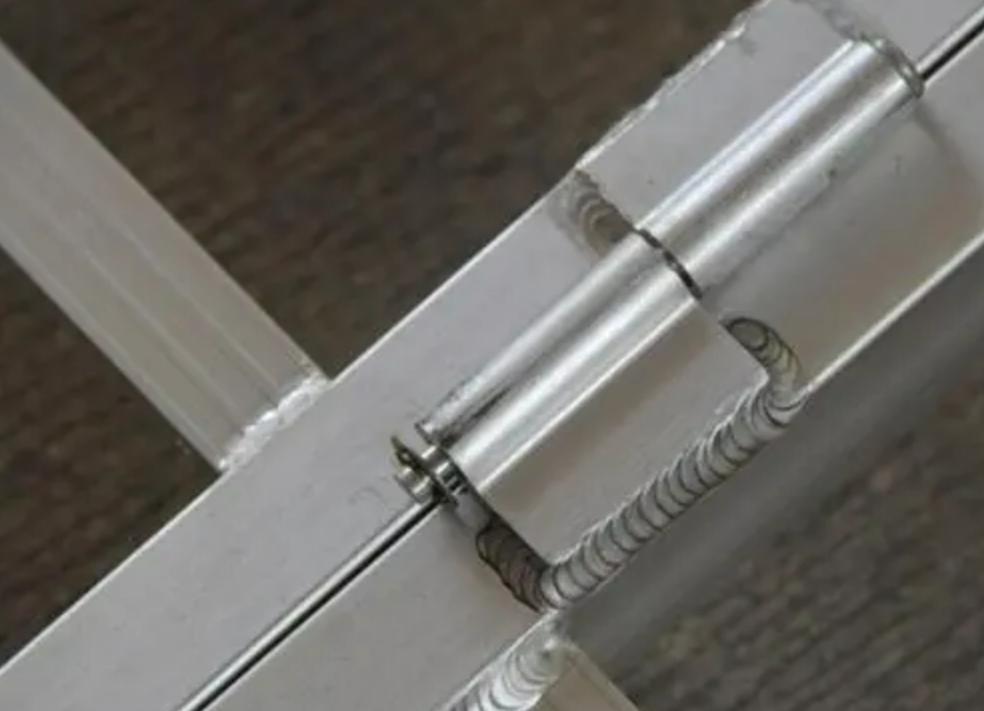
While gas welding (oxy-fuel welding) is not the most common method for welding aluminum due to the formation of a strong oxide layer that hinders the welding process, it can still be used for certain applications. Here are some common aluminum parts that can be gas welded:
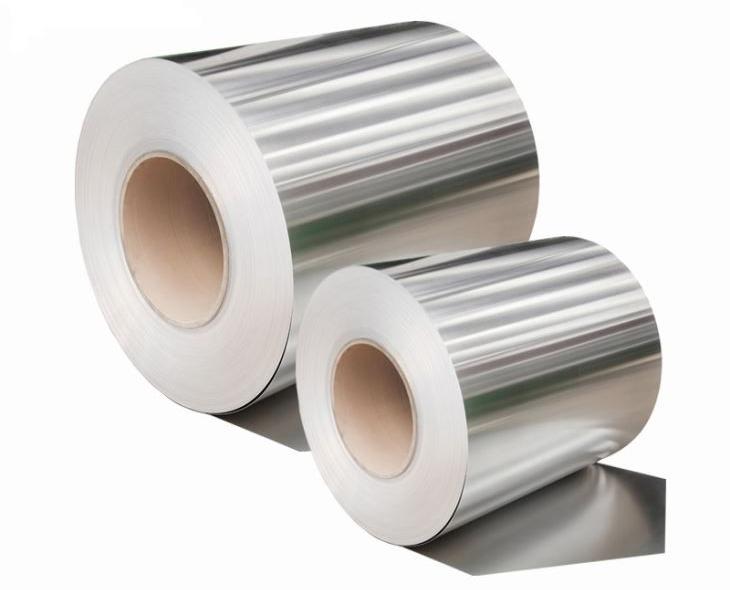
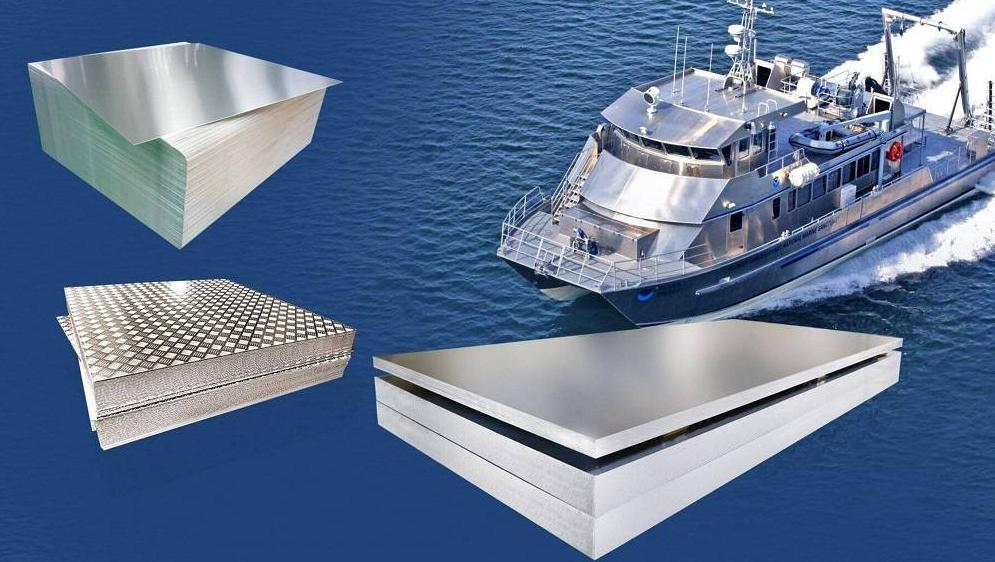
- Sheets and plates: These are often used for creating structural components in various applications, such as boat hulls, building panels, and tanks.
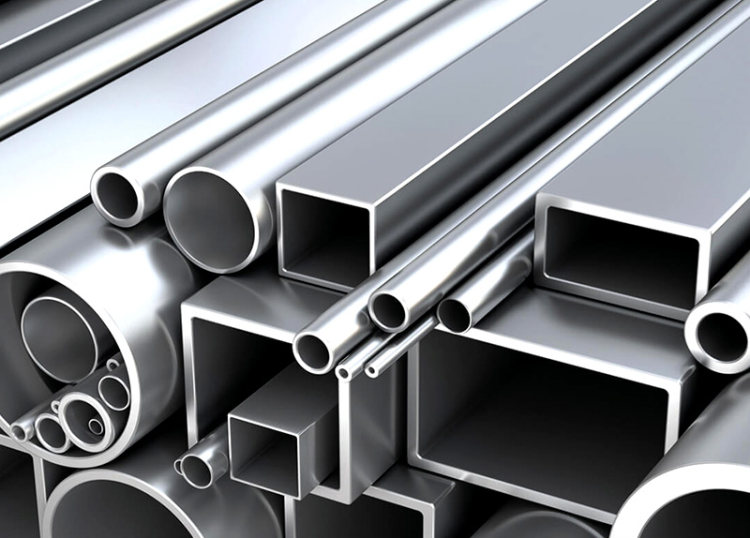
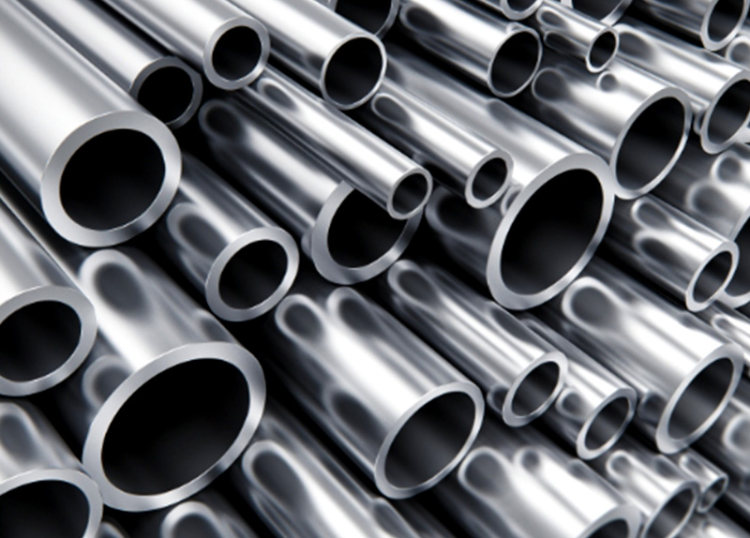
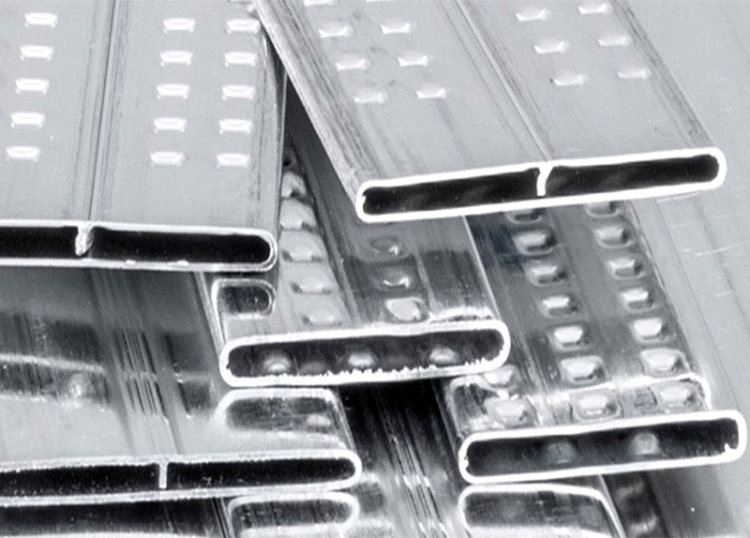
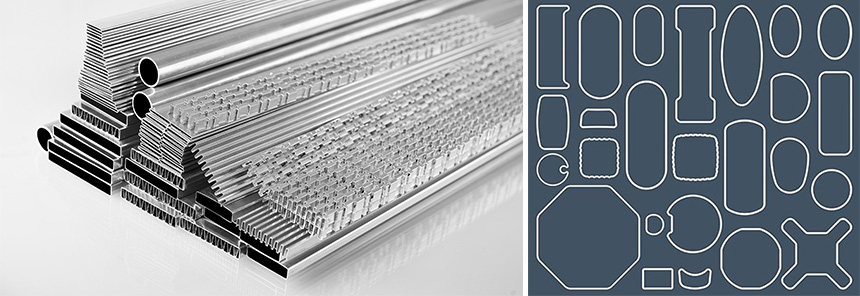
- Pipes and tubes: Aluminum pipes and tubes are commonly used in plumbing, refrigeration, and furniture making. Gas welding can be used to join these elements together.
- Castings: Aluminum castings are often used for complex shapes or parts that require a high strength-to-weight ratio. Gas welding can be used to repair or modify these castings.
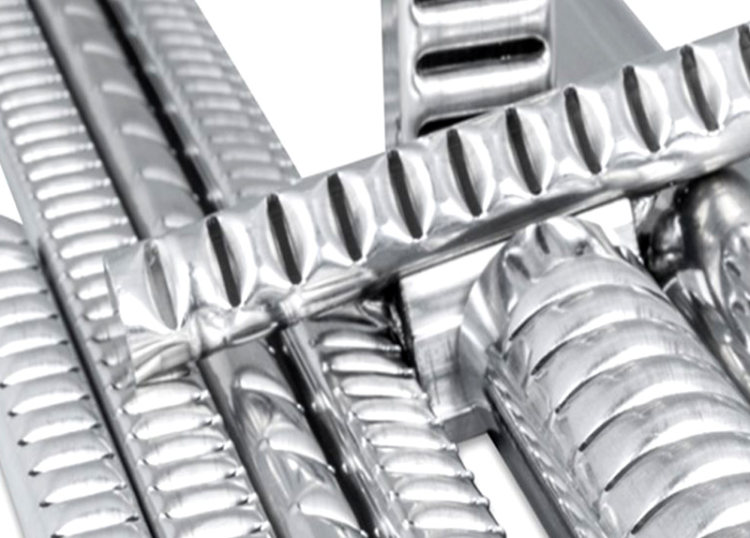
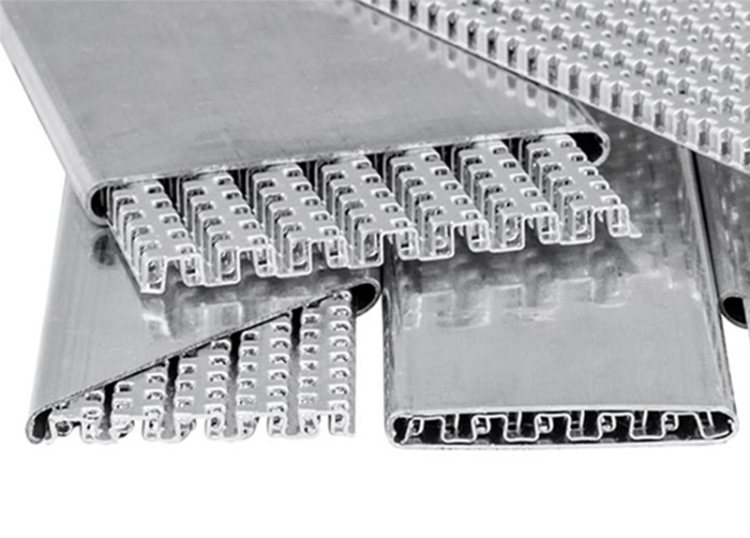
- Wrought parts: These are aluminum parts that have been shaped through processes like rolling, forging, or extrusion. Gas welding can be used to join wrought parts together or to repair them.

Tips and Tricks for Gas Welding Aluminum
Understanding the Aluminum Enigma
Understanding aluminum’s quirks is key to conquering its welding challenges. This lightweight metal readily forms a tenacious oxide layer that impedes weld penetration. Additionally, its high thermal conductivity can lead to rapid heat dissipation, making consistent temperature control crucial.
Fortunately, gas welding shines in this arena. The direct control over the flame allows for precise heat manipulation, enabling you to melt the base metal without overcooking it. This translates to cleaner welds with minimal distortion and reduced risk of burn-through, a frequent aluminum-welding nemesis.
Challenges Met, Head-On
No journey is without its obstacles, and gas welding aluminum is no exception. So knowing how to combat these common challenges and solutions in gas welding aluminum will help you better prepare for optimal results:
Challenge 1 : Oxidation: Aluminum naturally forms a stubborn oxide layer that prevents proper fusion.
Solution:
- Thorough cleaning: Scrupulously clean the weld area with stainless steel brushes or solvent wipes designed for aluminum to remove all dirt, oil, and oxides.
- Flux: Use a specialized aluminum flux that breaks down the oxide layer and promotes smooth metal flow.
- Torch manipulation: Maintain a slight oxidizing flame (inner feather slightly longer than the outer cone) to burn away the oxide while welding.
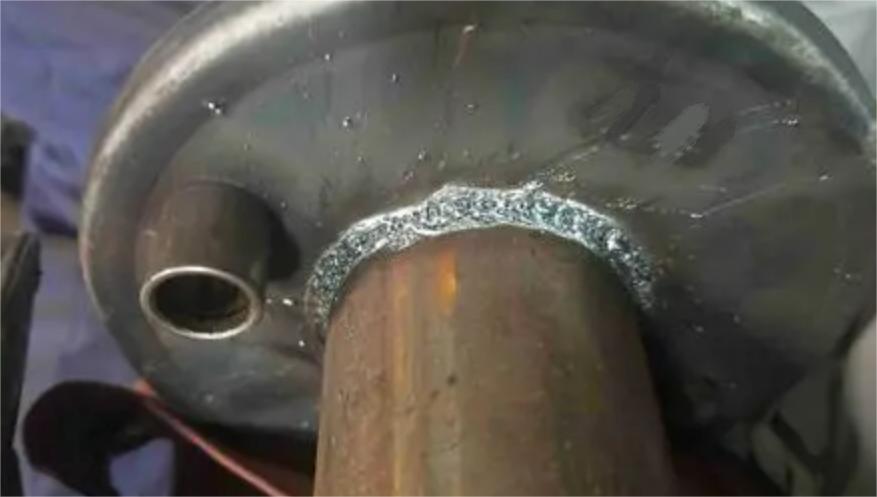
Challenge 2: Porosity: Tiny air bubbles trapped within the weld metal can weaken its strength.
Solution:
- Clean materials: Ensure both the base metal and filler rod are free of oil, grease, and moisture.
- Torch angle: Hold the torch nearly perpendicular to the joint to minimize air pockets.
- Travel speed: Maintain a consistent travel speed, neither too fast nor too slow, to allow proper gas shielding and metal fusion.
Challenge 3: Warpage: Aluminum’s high thermal conductivity can lead to heat distortion and warping in thin materials.
Solution:
- Clamping and tack welding: Secure the pieces firmly before welding, using tack welds to hold them in place.
- Preheating: For thicker sections, preheat the surrounding area to minimize localized heating and reduce warping.
- Cooling strategies: Allow the welded area to cool gradually, using heat sinks or cold damp cloths to prevent rapid contraction.
Challenge 4: Brittle welds: Improper technique or filler rod selection can result in weak and brittle welds.
Solution:
- Match the filler rod: Select the correct filler rod compatible with the base metal and desired properties.
- Heat control: Avoid overheating the weld area, as it can burn the metal and weaken the joint.
- Multiple passes: Build the weld in multiple thin layers, allowing each layer to cool slightly before adding the next for better strength and ductility.
Challenge 5: Loss of heat: Aluminum’s high thermal conductivity can make it difficult to maintain a molten puddle.
Solution:
- Focus the heat: Use a smaller nozzle tip to concentrate the flame intensity on the weld area.
- Torch manipulation: Keep the torch close to the joint and move it steadily to maintain a consistent heat zone.
- Preheat thicker sections: For thicker materials, preheating the surrounding area can help maintain a molten puddle.
Remember, practice and experimenting are key to mastering gas welding aluminum. These tips and tricks provide a solid foundation, but don’t hesitate to tailor your approach based on the specific project and materials.

